Makeup for beginners works best when you start with color, not the cart. Before you buy anything, learn which shades suit your natural coloring, then pick a small, flattering kit instead of a pile of trendy products that fight your face. This guide covers that first decision, the step-by-step order of application, a five-minute version, and the early mistakes worth skipping.
Find your color season from a selfie and get an eye makeup look matched to itStart With Your Colors, Not Your Cart
Most beginners do it backward. They buy the shade a video raved about, swipe it on, decide it looks "off," and quietly blame their own technique. Usually the technique was fine. The color was simply wrong for them. A warm tan eyeshadow that glows on one person can turn another person's eyes tired and gray, and no amount of blending fixes a shade that was never going to flatter.
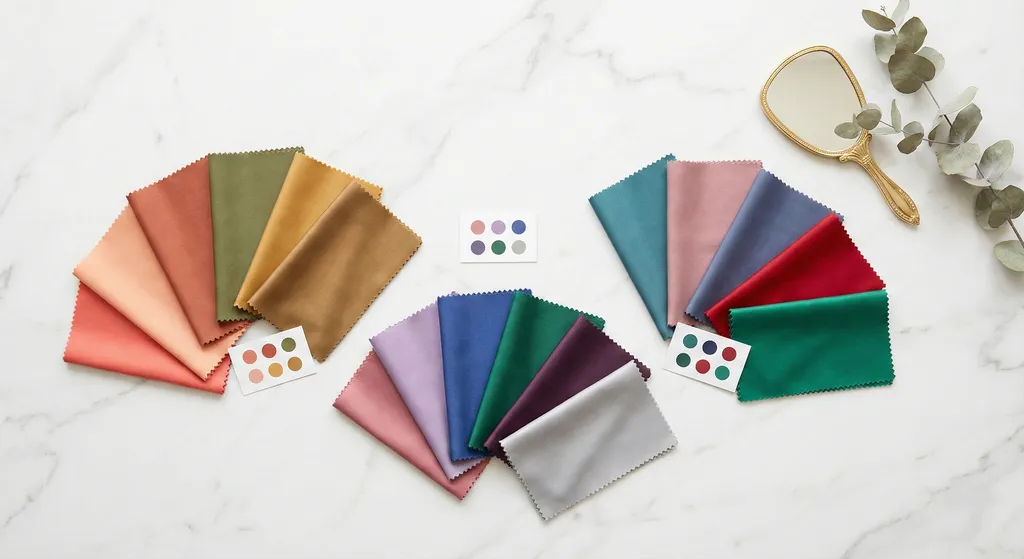
The fix is to choose color first. Your coloring sits in one of twelve color seasons, a structured way of grouping which shades harmonize with your skin, eyes, and hair. The most reliable way to find your season is draping: holding fabric in different tones near your face and watching which ones make your skin look clear and lively versus dull or sallow. Your natural coloring helps confirm the result, but draping leads. (Skip the old "look at your wrist veins" trick, it is unreliable and tells you very little.) BeautySpark reads your season from a selfie photo and shows you sample colors for that season, so you can shop with a short list instead of guessing. You can even try our popular palettes to see whether one of them is the right fit for you.
Why does this matter so much for a beginner? Because when every shade you own belongs to the same temperature family, your whole kit cooperates. A warm blush, a warm-leaning eyeshadow, and a warm nude lip already look intentional together. Buy across temperatures (a cool pink blush, a golden bronze lid, a blue-red lip) and even careful application reads as slightly mismatched. Starting color-first means your small kit looks expensive and pulled together from day one.
Identify the colors that suit you before you buy anything, and every product you own will already work together.
The Minimalist Beginner Makeup Kit (What You Actually Need)
You need a handful of products, used well, not a drawer that overwhelms you every morning. A true beginner kit is short on purpose. The goal is to cover skin, frame the eyes, and add a little color, with nothing you have to think hard about.
Here is the whole list:
- A blendable base. A tinted moisturizer or light foundation that evens out your skin without burying it. Beginners do better with sheer-to-medium coverage than with anything full-coverage, which is harder to apply without looking heavy. Sheer coverage is also more forgiving if you are unsure of your exact shade, so it is the safer place to start.
- A small concealer. One shade close to your base for under the eyes and the odd spot. You will use a tiny amount.
- Something for brows. A tinted gel or a soft pencil in a shade near your natural hair. Brows frame everything, and grooming them does more for a beginner face than a bold lip ever will.
- A neutral eye trio or quad. Three or four coordinating shades, a light, a mid-tone, and a deep (a quad just adds one more), all in one temperature family that matches your season. This single palette powers most of the eye looks in this guide.
- One eyeliner. A soft pencil in a flattering deep shade. Keep it gentle; you are defining the lashes, not drawing a hard line.
- One mascara. Black is stronger than most people need. Depending on your season, a soft brown or a cool gray defines the lashes just as well while looking far more natural.
- A blush. A cream blush in a shade that flatters your season, patted onto the cheeks with your fingers for an easy, natural flush.
- A lip product. A lip balm, gloss, or lipstick in a shade that suits you. Even a tinted balm adds enough color to finish the face.
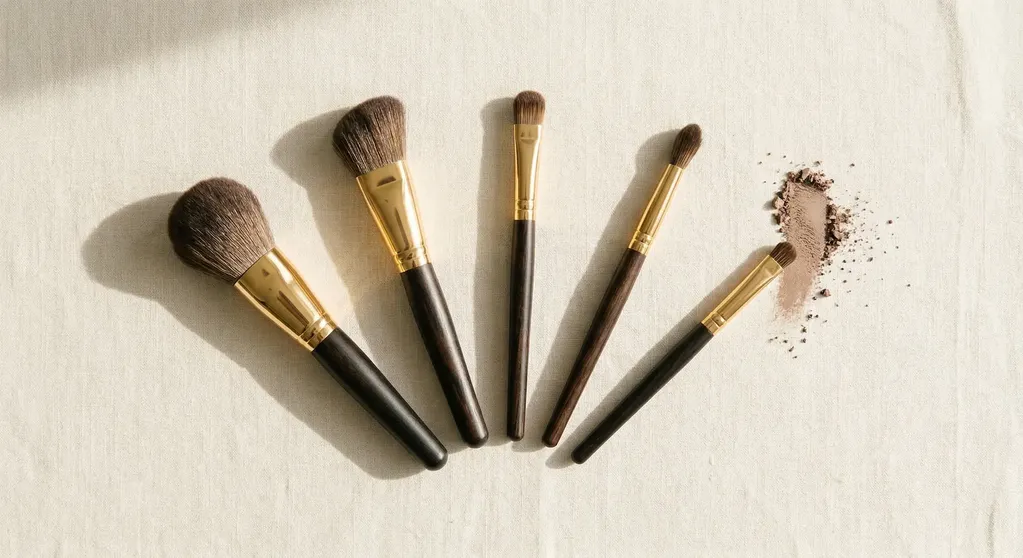
- Two eye brushes to start. A fluffy blending brush and a flat packer brush cover the eye look while you learn, and you can apply base with clean fingers or a sponge. When you are ready to build out a full set, our guide to the essential makeup brushes covers the six worth owning.
That is it. Notice there is no contour kit, no setting spray, no highlighter, no false lashes. Those are fun later. For now, fewer products means faster mornings and far less money spent on shades you will abandon.
A short, season-coherent kit, base, brows, a neutral eye trio, a liner, mascara, blush, and a lip product, covers nearly every beginner look.
How to Apply Makeup Step by Step (Your First Routine)
The order of makeup application matters because each layer sets up the next. Work from skincare outward to color, doing one thing per step, and the whole routine stays calm and skimmable. This is the sequence professionals follow, and it is the one beginners search for most.
- Prep. Clean, moisturized skin first. Let your moisturizer absorb for a minute so your base grips instead of sliding. Primer is optional; skip it while you are starting out.
- Base. Apply your tinted moisturizer or foundation from the center of your face outward, blending down toward the jaw so there is no line. Match it to your face and neck, not your hand.
- Concealer. Dot a little under the eyes and on any spots, then pat (do not rub) to blend. Less is more here; you can always add a touch more.
- Brows. Brush them up and fill any sparse gaps with light strokes. Set with a tinted gel if you have one.
- Eyes. Eyeshadow, then liner, then mascara. Keep this brief for now, the next section walks through a foolproof beginner eye in detail.
- Finish. A wash of blush on the apples of your cheeks for life, and a tinted balm or soft lip color. Done.
A useful exception: if you ever do a darker, smokier eye, do your eyes first, then clean up any fallen shadow under the eye before applying base. That keeps stray flecks from smearing into your foundation. For most everyday looks, though, the order above is all you need.
Here is the routine at a glance, with one beginner tip per step:
| Step | What It Does | Beginner Tip |
|---|---|---|
| Prep | Hydrates so base grips | Wait one minute after moisturizer |
| Base | Evens out skin tone | Blend from center outward; match your neck |
| Concealer | Brightens and spot-covers | Pat, do not rub; start with very little |
| Brows | Frames the whole face | Use a shade near your natural hair |
| Eyes | Adds depth and definition | Build color slowly in thin layers |
| Finish | Adds life | A little blush and balm is plenty |
Apply makeup in order, prep, base, concealer, brows, eyes, finish, with one action per step, and a clean everyday face takes about ten minutes.
Eye Makeup for Beginners: The 3-Shadow Method
The easiest beginner eye uses just three shadows and two brushes. Think of the trio as a light, a mid-tone, and a deep shade, all chosen in one temperature family so they blend into a smooth gradient instead of clashing. The mid-tone covers the lid, the deep shade adds depth in the outer corner, and the light shade brightens. That is the whole technique, and it is genuinely hard to get wrong.
The one rule that keeps it flattering: keep all three shadows in the same temperature as your season. A warm-toned person reaches for warm neutrals; a cool-toned person reaches for cool neutrals. Mixing a warm lid with a cool deep shade is the quiet reason a lot of beginner eyes look slightly muddy. Here are two coherent example trios, one warm, one cool, so you can see what "same family" means.
A warm-coherent trio, the kind that suits Spring and Autumn seasons:
Warm-coherent trio Palette
Best Colors
Worn, that warm trio stays this soft: champagne opening the inner corner, camel melting over the lid, and chocolate holding the outer corner without a hard line.
A cool-coherent trio, the kind that suits Summer and cool Winter seasons:
Cool-coherent trio Palette
Best Colors
The cool trio lands just as gently: mauve-pink brightening the inner corner, muted mauve on the lid, and espresso deepening the outer corner, all staying firmly cool.
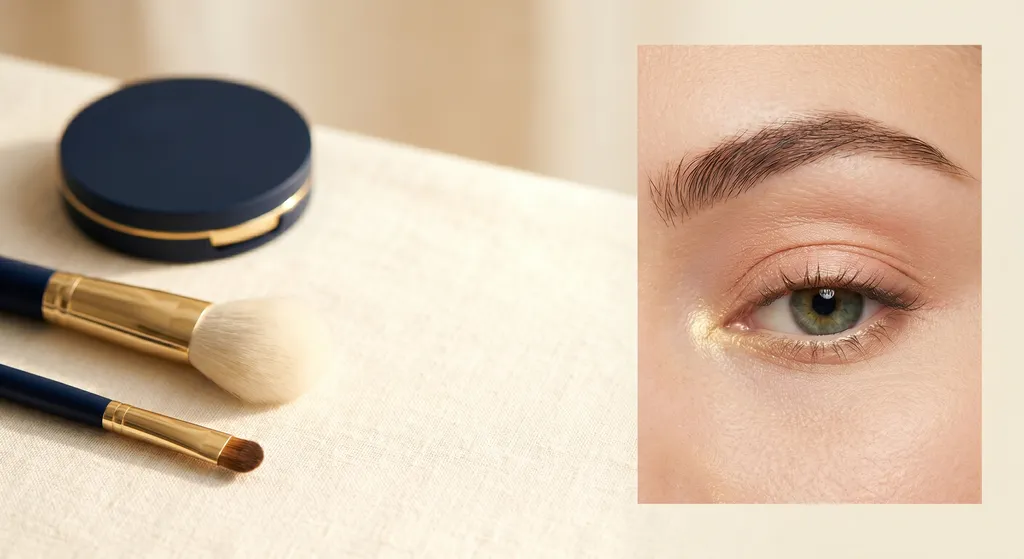
You only need two brushes: a flat packer to press color onto the lid, and a fluffy blender to soften edges. A cream shadow is a forgiving place to start if your hands feel shaky, because you can pat it on with a fingertip and it stays put; powders give more control once you are comfortable. For the difference between the two textures, see our cream versus powder guide.
Here is the sequence:
- Prime the lid. A swipe of concealer or eye primer gives the shadow something to hold onto and makes color last.
- Wash the mid-tone across the lid. Press the camel or mauve shade over the whole mobile lid with your flat brush. This is your base of color.
- Deepen the outer corner. With the deep shade on a small fluffy brush, add color to the outer third of the lid and blend it slightly into the crease. Keep it concentrated outward.
- Lift with the light shade. Pat the light shade on the inner corner and just under the brow bone to open the eye.
- Soft liner. Trace a gentle line along the upper lash line with your pencil, staying close to the roots. Smudge it a touch with the brush so it reads soft, not harsh.
- Mascara. One or two coats, wiggling the wand at the base of the lashes and pulling up.
For exactly where each shade sits on different eyes, our eyeshadow placement guide maps it out, and you can find your eye shape to adapt the deep shade. If you want shades that play up your specific iris, here are shades for your eye color. Hooded lids do better with the deep shade placed slightly higher so it shows when the eye is open.
Three coordinated shadows in one temperature family, applied light to deep, give a beginner a polished eye that is almost impossible to mess up.
Discover Your Perfect Eye Look
Get your first AI-personalized look in under 5 minutes.


The 5-Minute Version (When You're Rushing)
When you are short on time, strip the routine down to what gives the most payoff for the least effort. A five-minute face leans on multipurpose products and your fingers, and it skips anything fussy. Done right, nobody can tell you rushed.
Here is what makes the cut:
- One multipurpose product for skin and cheeks. A tinted moisturizer for coverage, then a cream blush patted on with a fingertip.
- A 20-second brow. A few quick strokes and a brush-up. Groomed brows do a lot of quiet work.
- A quick wash of shadow. Swipe the mid-tone from your trio across the lid to deepen the eye, then add one coat of mascara. Skip the liner.
- A tinted balm. Color and moisture in one swipe, no mirror required.
What to cut when the clock is against you: eyeliner, concealer beyond one or two spots, and anything that needs a brush you have to clean. Fingers are faster than tools and forgiving with cream formulas.
The five-minute face is base, cream blush, a quick brow, a mid-tone wash on the lid, mascara, and a tinted balm, in that order.
Choosing Shades That Suit You
Every shade decision comes back to two questions: what is your undertone, and what is your season. Undertone is the broad lean of your skin, warm (golden, peachy), cool (pink, bluish), or neutral. Season is the more precise grouping that tells you not just warm or cool but how light, deep, soft, or bright your best shades are. Together they turn "what color should I buy?" into a short, confident answer.
The practical rule is temperature coherence: keep a single look in one temperature family. If your season is warm, reach for golden browns, warm corals, peach, and bronze, and skip icy pinks and blue-reds. If your season is cool, reach for rosy pinks, soft plums, cool taupes, and blue-reds, and skip orange-corals and golden bronzes. Neutral seasons are where this gets misread. Contrary to common belief, a neutral season still skews one way, either neutral-cool or neutral-warm, so being neutral does not mean anything works on you. Pinning down your exact season is what tells you which direction to lean.
Two reads make this easy to apply. First, find your undertone to settle the warm-versus-cool question, then see the colors that suit you for the fuller season picture. For the cleanest selfie to analyze, our selfie tips help the read come out accurate.
Choosing shades comes down to your undertone and season, and keeping every look in one temperature family is what makes a beginner kit look intentional.
Beginner Pitfalls That Make Makeup Look Worse
Most beginner makeup that looks "off" traces back to a handful of fixable habits, not a lack of talent. Catch these early and your results jump.
- Too much product. The most common one. Heavy base, packed-on shadow, and three coats of everything read as a mask. Start with less than you think and build only where you need it.
- Skipped blending. Edges are everything. An unblended line of blush or a hard stripe of eyeshadow is what separates beginner from polished. Always soften the edges with a clean fluffy brush.
- Jet-black everything. A hard black liner and inky black shadow overpower most faces, especially lighter or softer coloring. A soft brown or your trio's deep shade usually flatters more and looks less severe.
- Wrong eyeshadow placement. Color in the wrong spot can shrink or drag the eye down. Learning roughly where each shade goes fixes this fast.
- Mismatched temperatures. Mixing warm and cool shades in one look is the subtle reason a face reads slightly wrong even when each product is nice on its own. Keep the look coherent.
None of these require new products to fix. They are technique and restraint, which means they improve the moment you notice them.
Beginner makeup usually looks worse from too much product, skipped blending, and mismatched temperatures, all fixable without buying anything new.
Frequently Asked Questions
Discover Your Perfect Eye Look
Get your first AI-personalized look in under 5 minutes.