Your AI color analysis is only as accurate as the selfie you provide. Six photo requirements separate a reliable result from one that misses your season entirely: natural lighting, no makeup, facing the camera directly, no glasses, hair away from your face, and a dedicated eye close-up. Getting even one of these wrong can shift your color season result or cause the analysis to fail. This guide shows exactly what each mistake looks like and how to fix it.
BeautySpark identifies your color season from a selfie and generates personalized eye makeup tutorialsWhy Your Selfie Quality Determines Your Color Season Accuracy
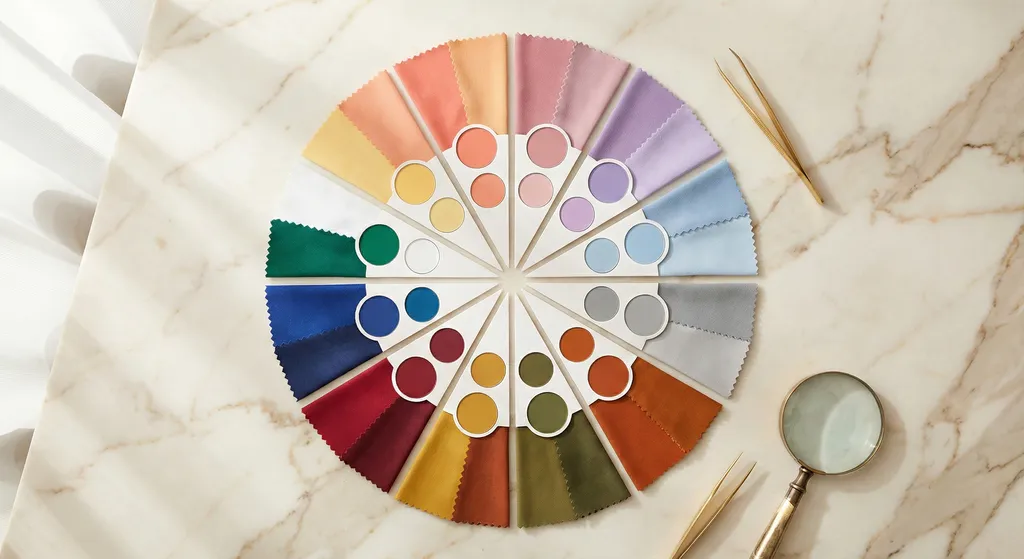
AI color analysis tools read pixel-level information from your photo. The algorithm examines your skin tone hue, undertone warmth or coolness, and the contrast ratio between your skin, hair, and eyes. Those data points are what place you in one of the 12 color seasons.
BeautySpark goes further than most tools in this space. On top of color analysis, it also reads your eye shape and face structure so the generated tutorials match your actual features, not just your season. Not every AI color analysis app does both, which means the impact of photo quality varies depending on which tool you use.
Any interference between the camera and your natural coloring feeds the algorithm the wrong input. Wrong lighting shifts your undertone reading. Makeup alters your skin's true color. Shadows from glasses or hair obscure the features the AI needs to see. A flawed photo can land you in the wrong season entirely, and for apps like BeautySpark that also generate tutorials from the same analysis, every suggested look will be calibrated for someone else.
Your AI color analysis is only as accurate as the selfie you provide, because the algorithm reads pixel-level color data directly from the photo.
Mistake 1: Using Artificial or Overhead Lighting
What Goes Wrong
Lighting is the single biggest factor in selfie quality for color analysis. Every light source has a color temperature measured in Kelvin, and that temperature shifts how your skin appears on camera.
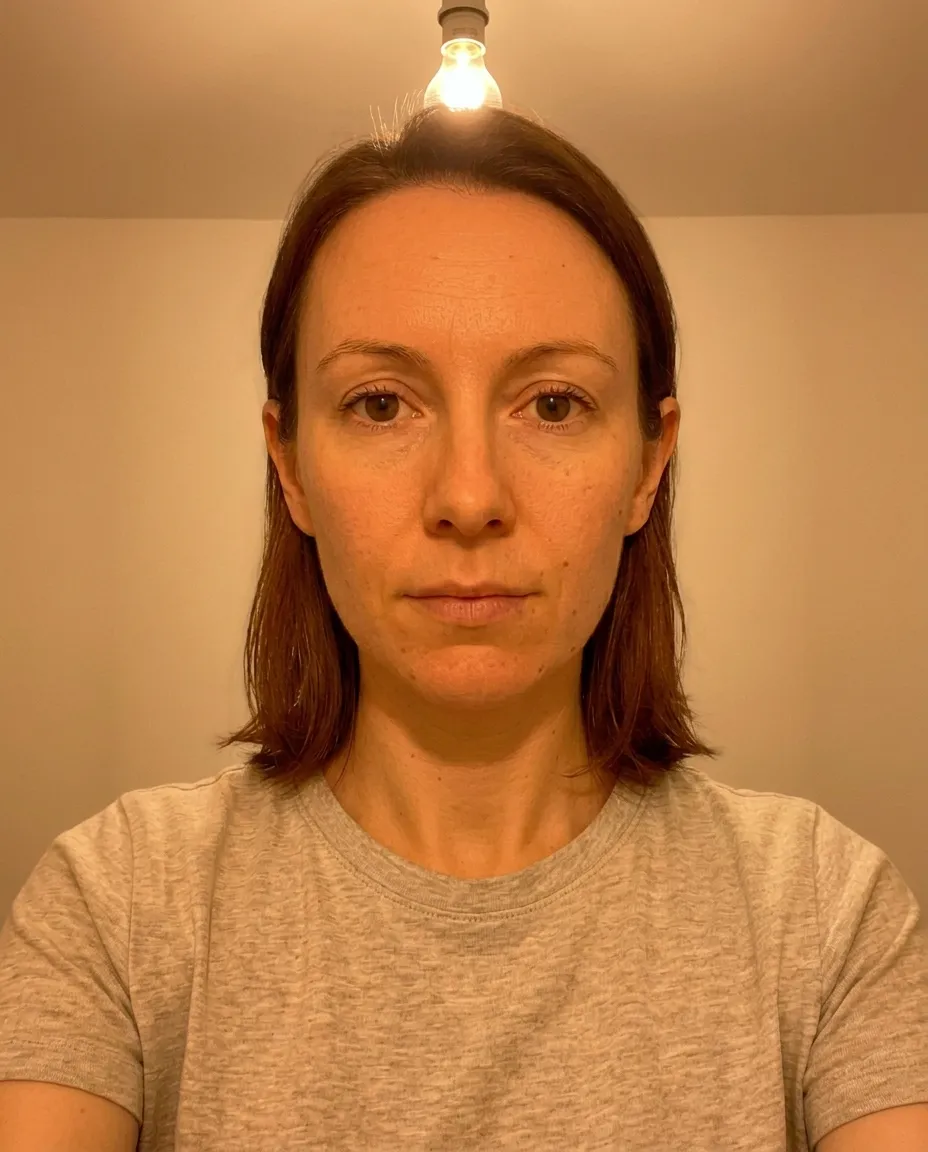
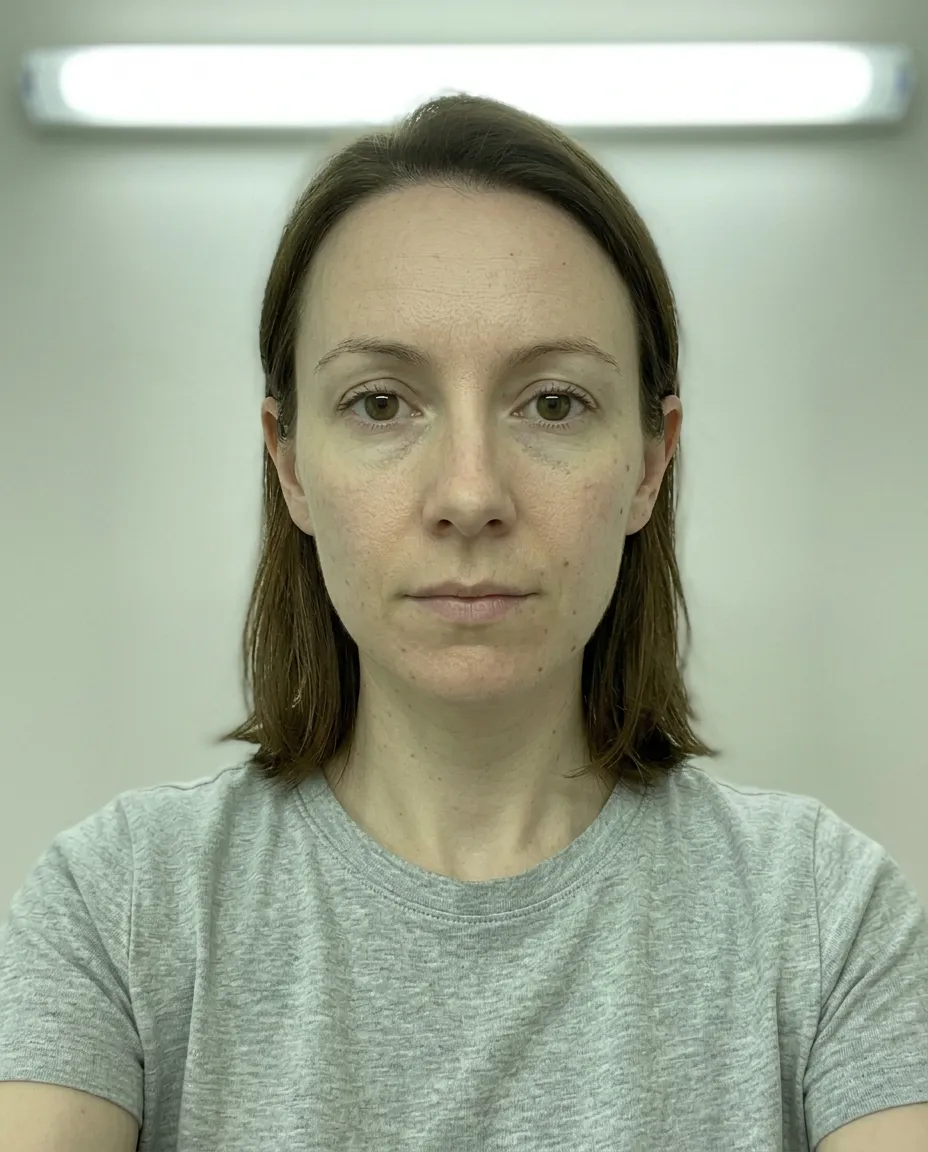
Fluorescent lights add a green or blue-white cast that makes warm skin tones look cooler than they are. Tungsten and incandescent bulbs add a warm yellow-orange cast that pushes cool skin tones toward warm. Overhead lighting creates shadows under the eyes, nose, and chin that darken the skin unevenly and obscure your eye area. Ring lights and LED panels vary wildly in color accuracy depending on quality.
The AI cannot distinguish between your actual skin color and a color cast introduced by your light source. If your lighting adds warmth, the algorithm reads warmth. If it adds coolness, the algorithm reads coolness. That single shift can push your result from Summer to Autumn or from Winter to Spring.
The Fix: Natural Daylight Near a Window
Face a window so natural daylight falls evenly on your face. Overcast days provide the most even, diffused light, but any window with indirect daylight works. Avoid direct sunlight streaming through the window, which creates harsh shadows and blown-out highlights on one side of your face.
The best time is mid-morning to mid-afternoon when daylight is strongest but not directly overhead. If you can see the window reflected in your eyes when you check the photo, you are positioned correctly.

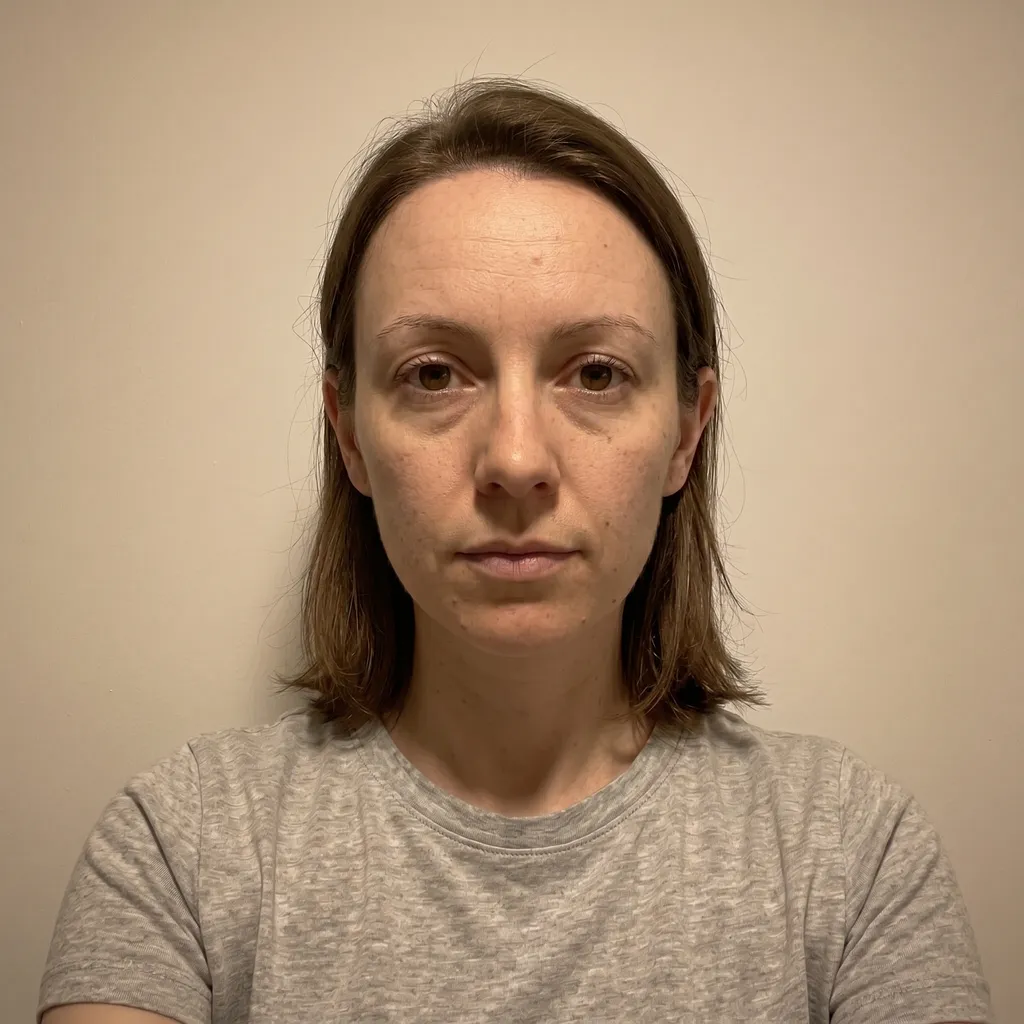
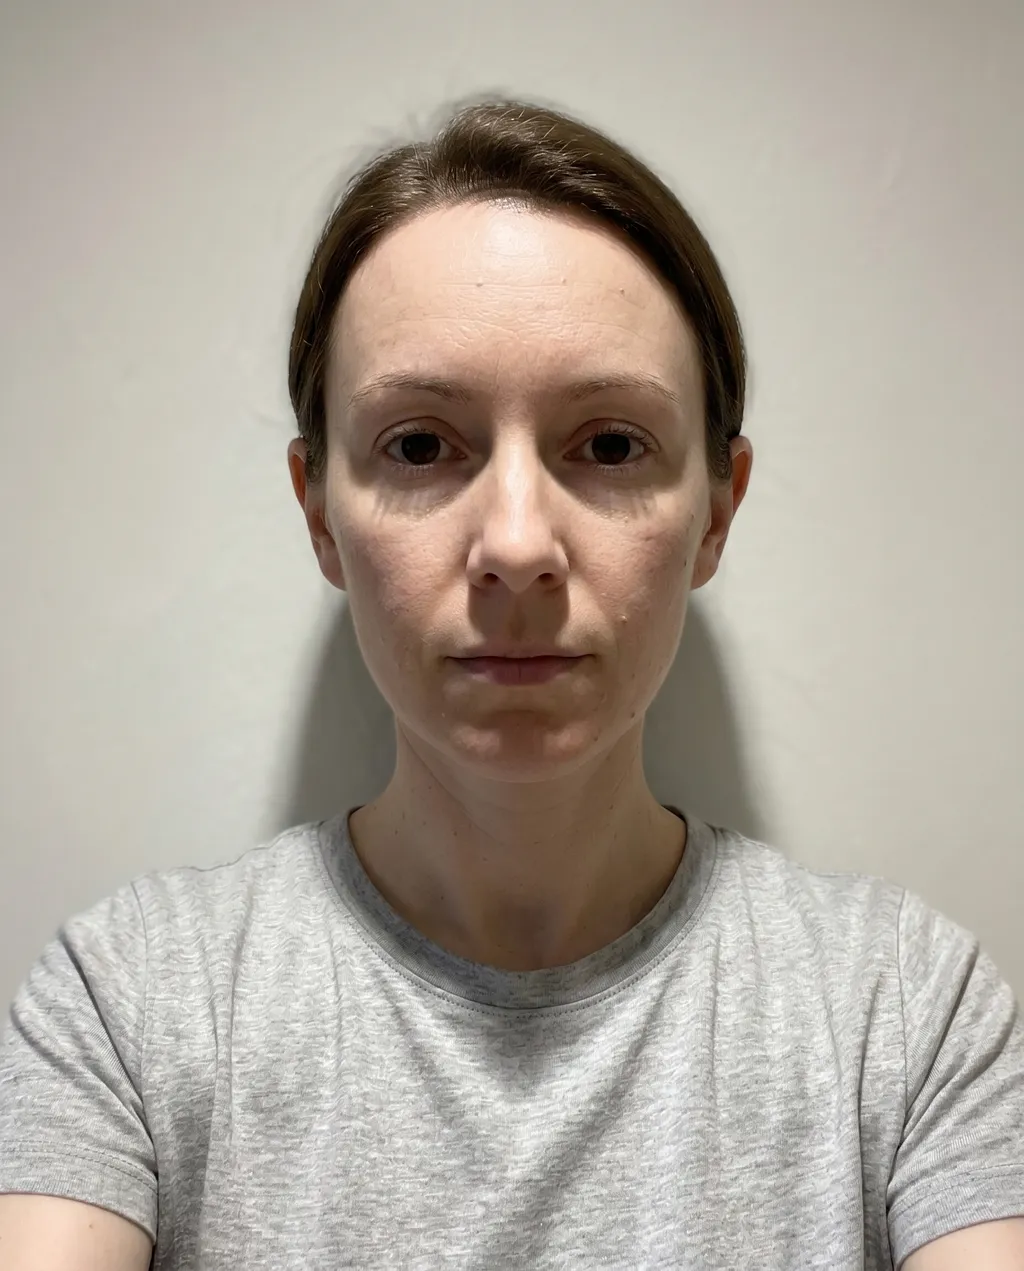

Pro Tip
Face a window so the light falls evenly on your face. If you can see the window reflected in your eyes, you are positioned correctly. Avoid direct sunlight, which creates harsh shadows and blown-out highlights.
Natural daylight near a window is the only lighting condition that preserves your true skin tone for accurate color analysis.
Mistake 2: Wearing Makeup
What Goes Wrong
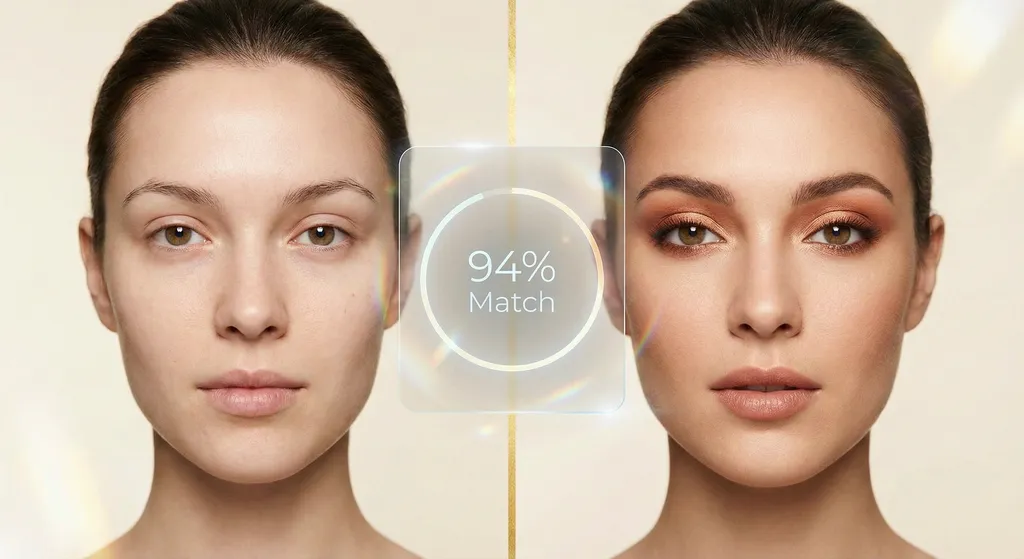
Foundation, concealer, tinted moisturizer, BB cream, and color-correcting primers all change how your skin reads on camera. Even sheer coverage products alter the hue and saturation of your natural skin tone. The AI cannot see through a layer of product to read what is underneath.
This extends beyond base products. Blush shifts your cheek color. Bronzer adds artificial warmth. Tinted lip balm changes your natural lip tone. Even a light dusting of setting powder can affect how your skin reflects light, slightly changing the brightness and undertone the algorithm reads.
The most common mistake is thinking "barely there" makeup does not count. It does. A sheer tinted moisturizer with SPF is enough to shift your undertone reading and send the analysis in the wrong direction.
The Fix: Bare-Faced Only
Wash your face and let it dry completely before taking your selfie. Remove all makeup: foundation, concealer, tinted moisturizer, BB cream, eye makeup, lip products, and any tinted skincare. Bare-faced is the cleanest starting point, and it is what the algorithm was designed around.
If your skin looks uneven, red, or blotchy without makeup, that is actually what the AI needs to see. Your natural skin, including its natural variation, is the data the algorithm was built to analyze.


Pro Tip
For BeautySpark specifically, you can still see a tutorial rendered on a finished base. The analysis selfie must be bare-faced, but during the eye makeup generation step you can upload a separate photo with foundation or concealer already applied. That second image is used for display only. The color season, face shape, and eye shape data have already been pulled from your bare-faced analysis photo.
Even sheer tinted products alter your skin's color data, so bare-faced and freshly cleansed is the only reliable starting point for AI analysis.
Mistake 3: Not Facing the Camera Directly
What Goes Wrong
Tilting your head, looking away from the lens, or holding the camera at an angle introduces asymmetry the AI was not designed to compensate for. One side of your face receives more light than the other, creating uneven skin readings. Features on the turned-away side become partially hidden, reducing the data available for analysis. Apps that also detect face shape or eye shape (BeautySpark among them) lose even more precision, because the algorithm cannot see half of what it needs to measure.
Selfie angles that look flattering on social media (the "above and slightly to the side" angle) are specifically bad for color analysis. They cast one eye in partial shadow and distort the proportions the AI uses to read your features.
The Fix: Straight-On, Relaxed Expression
Hold the camera at eye level, directly in front of your face. Look straight into the lens with a relaxed, neutral expression. Your face should be evenly lit on both sides. Avoid smiling widely (it changes the shape of your eye area) or squinting.
If you are using the front-facing camera on your phone, hold the phone at arm's length at eye level. Rest your elbows on a table if you need stability. The goal is a passport-style photo where both eyes, your full nose, and your jawline are clearly visible and evenly lit.


Pro Tip
The straight-on rule applies to your analysis selfie. In BeautySpark, you can still use a slightly angled photo for the makeup application step later in the flow, since that image is used for display rather than analysis.
A straight-on, eye-level photo ensures even lighting on both sides of your face and gives the AI full access to every feature it needs to analyze.
Mistake 4: Keeping Glasses On
What Goes Wrong
Glasses interfere with color analysis in three ways. First, lenses create reflections that obscure your iris color and the surrounding eye area. That matters for contrast-level analysis in any color season app, and it matters even more for tools like BeautySpark that also use your eye area for shape detection. Second, frames cast shadows on your cheekbones and temples that distort the skin tone reading in those areas. Third, tinted lenses (including blue-light-filtering coatings, transition lenses, and sunglasses) add a color cast directly over the eye area that the AI reads as part of your natural coloring.
Even clear lenses with anti-reflective coating can produce subtle green or purple reflections that appear in the photo and affect the area the AI examines most closely.
The Fix: Remove All Eyewear
Take off all glasses before your selfie: prescription glasses, reading glasses, and sunglasses. Contact lenses are a different story. Clear prescription contacts are fine, but take out colored or cosmetic ones, since they change your iris color and the AI uses that as one of its contrast data points.

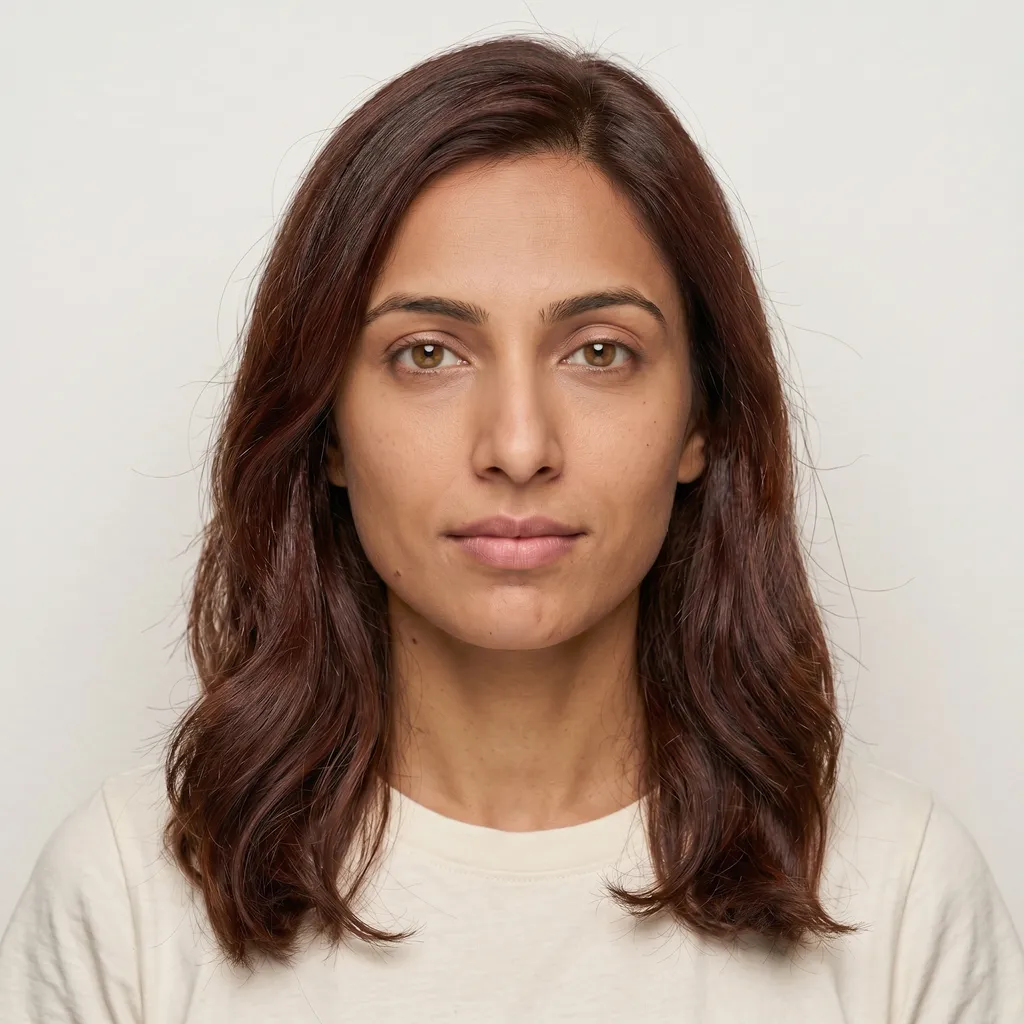
Glasses create reflections, shadows, and tint effects that directly interfere with the eye area analysis the AI relies on for accurate results.
Mistake 5: Hair Covering Your Face
What Goes Wrong
Hair falling across your forehead, cheeks, or jawline creates two problems. First, it physically covers skin the AI needs to read. The algorithm analyzes skin tone across multiple areas of your face, and covered areas reduce the data available. Second, dyed hair can reflect its color onto the skin directly beneath it. Freshly bleached strands throw cool light onto the forehead. A copper or red dye casts warmth onto the temples. Either way, the undertone reading in that patch of skin gets skewed by a color that is not really yours.
Bangs are the most common issue. They obscure the forehead, which is one of the largest uninterrupted skin areas the AI uses for tone sampling.
The Fix: Pull Hair Back (and Cover Dyed Hair Entirely)
Use a clip, band, or headband to pull all hair away from your face. Your forehead, temples, and jawline should be fully visible. If you have bangs, pin them back. Short hair gets tucked behind your ears as much as possible.
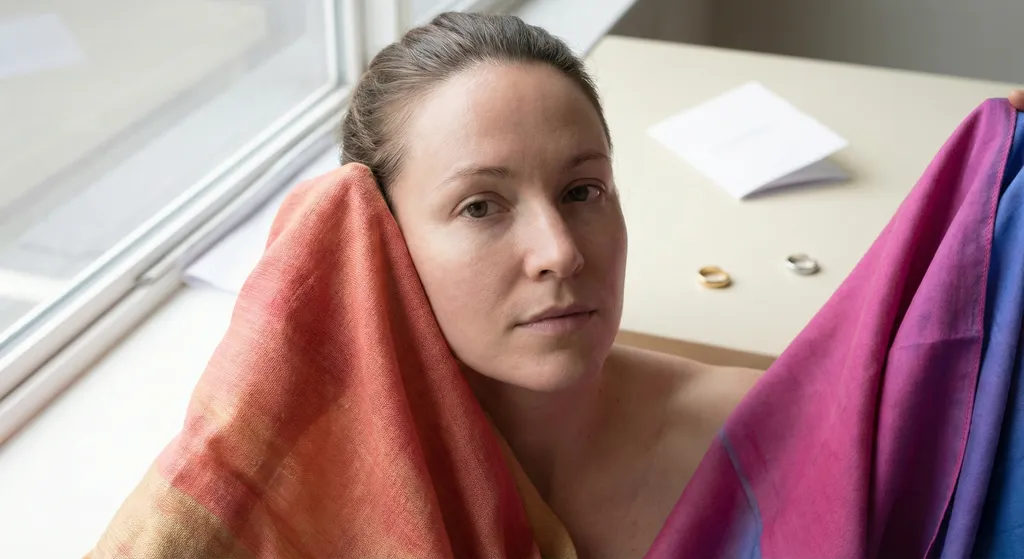
If your hair is dyed, especially bold shades, bleached blonde, or anything far from your natural color, go one step further: cover it entirely with a white cloth, towel, or scarf. That stops any reflected color from reaching your skin. For natural, untreated hair, tying or pinning it back is enough.
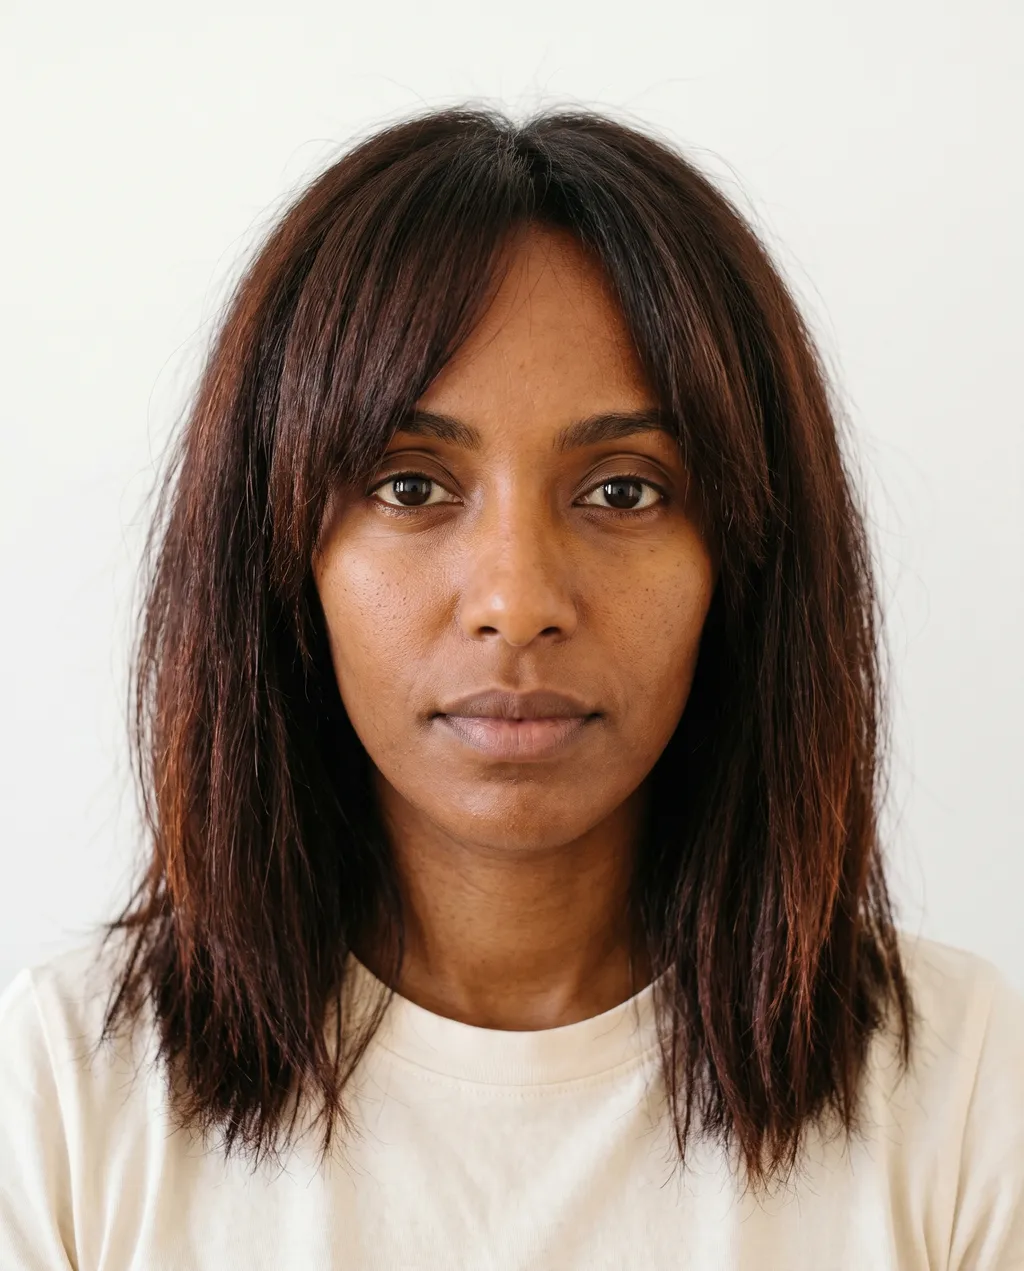
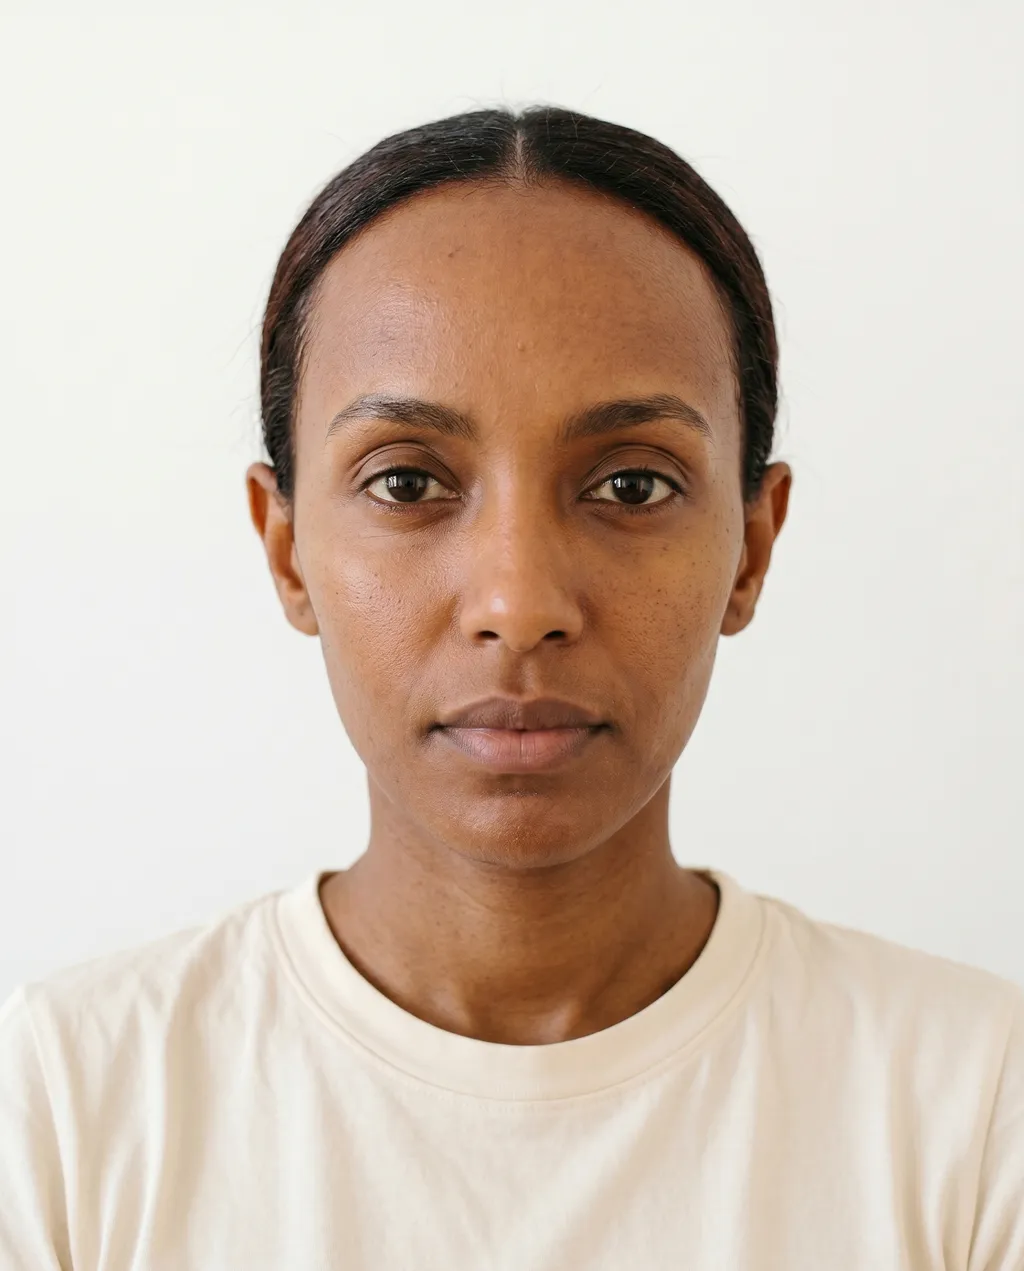
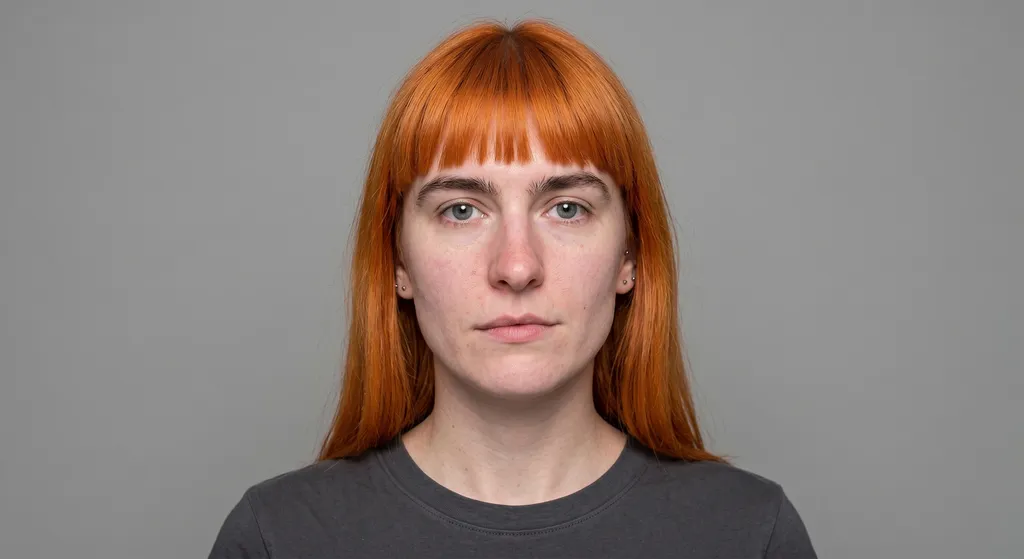
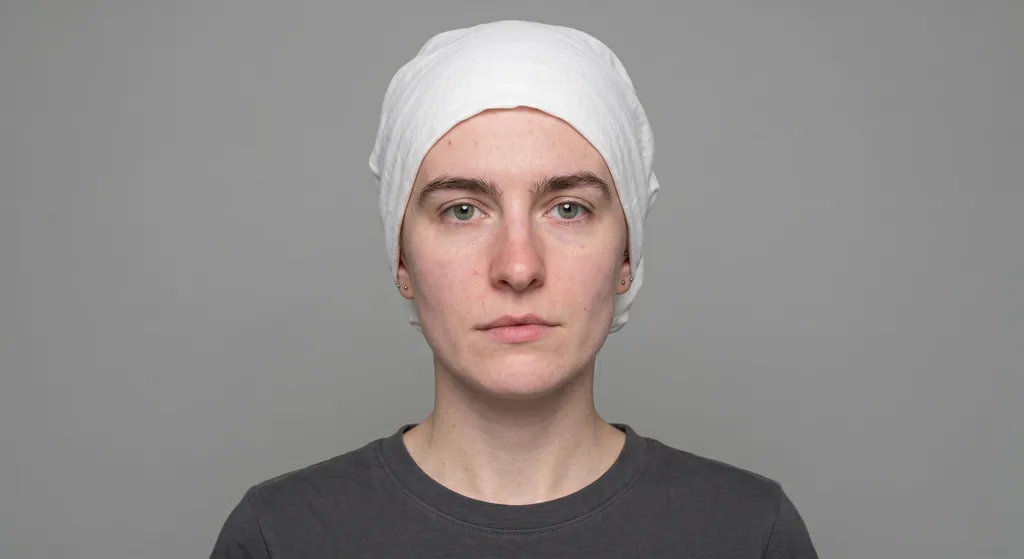
Pulling hair back clears the view the AI needs, and covering dyed hair with a white cloth prevents artificial color from bleeding into your skin tone data.
Mistake 6: Skipping the Eye Close-Up
What Goes Wrong
A standard selfie taken at arm's length captures your full face, but the eye area appears at a relatively low resolution in the overall image. BeautySpark is trained to read your iris color, the structure of your eyelid (whether hooded, monolid, deep-set, or another eye shape), the crease line, and the inner and outer corner proportions. From a full-face photo alone, those details may not be sharp enough for precise detection.
Without a dedicated eye close-up, BeautySpark falls back on less detailed data for the features that most directly determine your eye makeup tutorials. The result is tutorials that may not account for your specific lid space, crease depth, or iris color with full accuracy. Not every color analysis app asks for an eye close-up, but if the tool you are using accepts multiple photos or requests one specifically, it is worth including.
The Fix: Include a Dedicated Eye Photo
Alongside your full-face selfie, take a separate close-up photo of your eye area for BeautySpark's analysis. Hold the camera roughly 15 to 20 centimeters (6 to 8 inches) from your face and center the frame on one eye or both eyes. Make sure the photo is in focus and well-lit. The close-up should show your iris, eyelid, crease, and brow clearly.
This is the most commonly skipped step for BeautySpark users, and it is also the one with the largest impact on tutorial quality. The more detail the algorithm can see in your eye area, the better it can tailor placement, blending zones, and color choices to your specific anatomy.
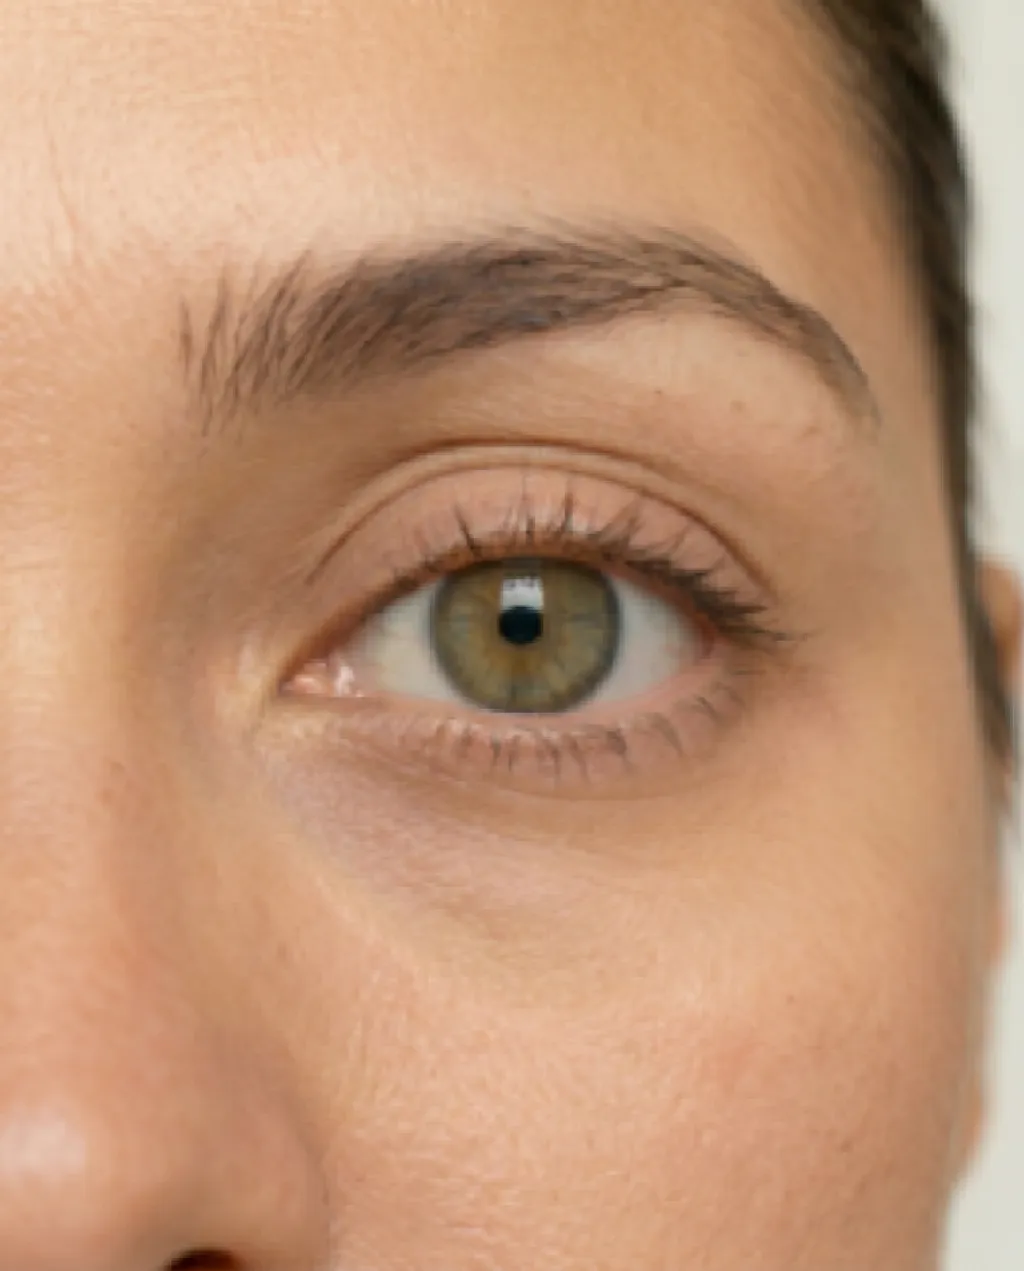
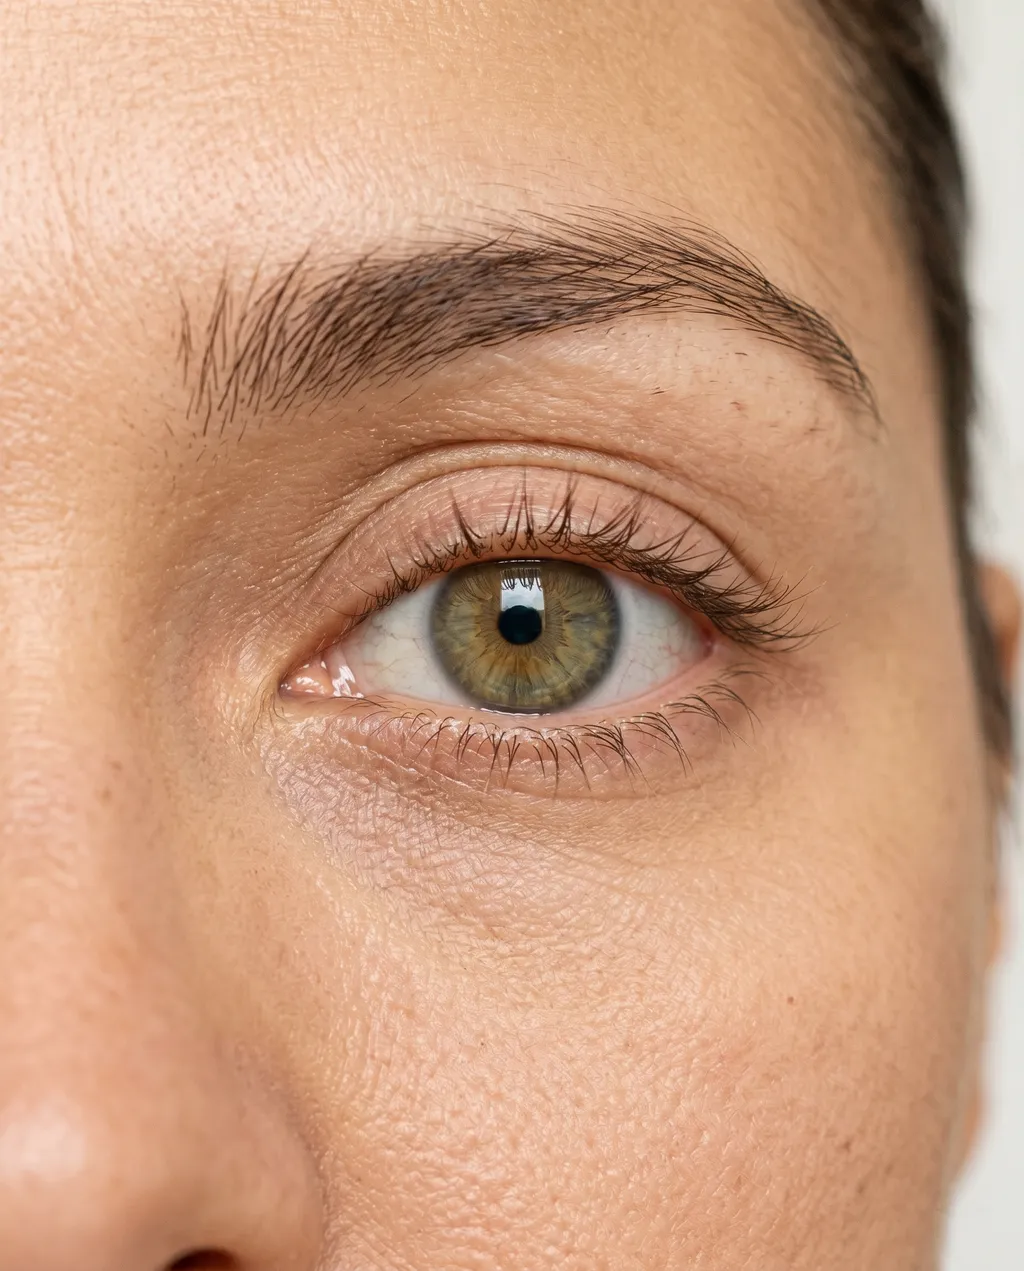
For apps like BeautySpark that personalize tutorials to your eye anatomy, a dedicated close-up gives the algorithm the detail it needs for accurate eye shape detection, iris color reading, and precisely placed makeup.
Discover Your Perfect Eye Look
Get your first AI-personalized look in under 5 minutes.


The Perfect Selfie Checklist
Use this quick-reference table before you take your analysis photos. If you can check every box, you are giving the AI the cleanest possible data.
| Requirement | Do | Do Not |
|---|---|---|
| Lighting | Face a window with natural daylight | Use overhead, fluorescent, or ring lights |
| Makeup | Bare face, freshly cleansed | Wear foundation, concealer, tinted SPF, or eye makeup |
| Position | Straight-on, eye level, relaxed expression | Tilt head, angle from above, or look away |
| Eyewear | Remove all glasses and sunglasses | Leave prescription glasses or sunglasses on |
| Hair | Pull hair back with clip or band | Let hair fall across forehead, cheeks, or jawline |
| Eye photo | Take a dedicated close-up of your eye area | Rely only on full-face photos |
Following all six requirements gives the AI the cleanest possible data for your color season, eye shape, and face shape analysis.
How Many Photos Should You Upload?
It depends on the app. Some AI color analysis tools only let you upload a single photo, while others accept several. Whenever multiple uploads are allowed, more is better. Extra photos give the algorithm more skin samples.
BeautySpark accepts 1 to 5 photos for analysis, and the more you provide, the more data points the algorithm has to work with.
photos recommended for best accuracy
At minimum, upload one straight-on full-face selfie and one eye close-up. For the best results, add one or two additional photos.
Both camera capture and gallery upload work. If you already have a bare-faced photo taken in natural daylight on your camera roll, you do not need to retake it. Just verify it meets the six requirements in the checklist above.
Uploading 3 to 5 photos that each meet the six requirements gives the AI the most data points and produces the most accurate analysis.
What Happens After You Upload
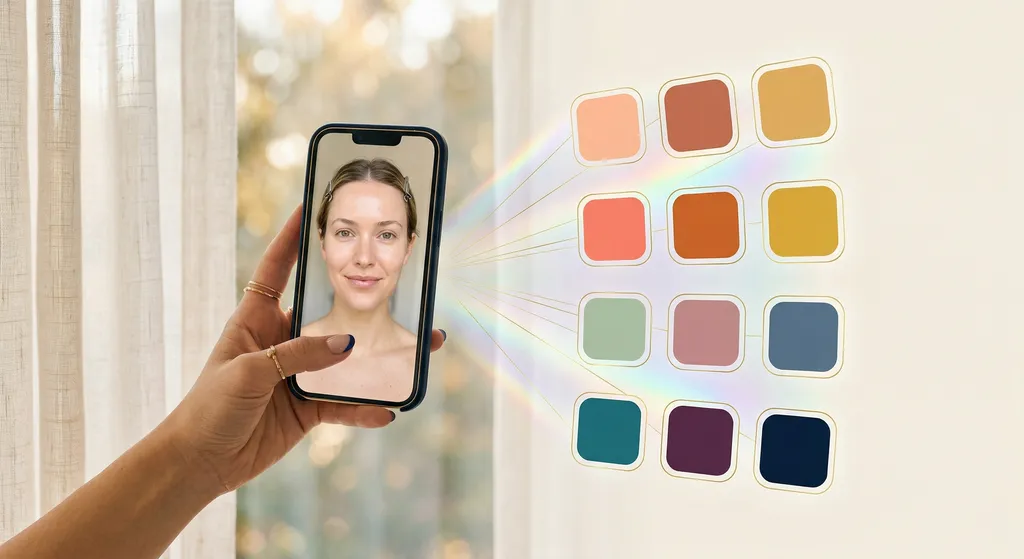
Most AI color analysis apps follow a similar pipeline. Your photos are compressed to a working resolution, then the algorithm samples your skin tone hue, measures undertone warmth or coolness, and calculates the contrast ratio between your skin, hair, and eyes. Those signals get mapped to a color season system, usually the 12-season model. The whole pass takes a few minutes.
BeautySpark runs extra steps in the same pass. Alongside your season, it reads your eye shape, lid structure, and face shape, then uses that anatomy to produce personalized eye makeup tutorials with placement, blending zones, and color choices matched to your features.
Whichever tool you use, the output is only as good as the input. That is why the six requirements in this guide matter.
Frequently Asked Questions
Discover Your Perfect Eye Look
Get your first AI-personalized look in under 5 minutes.