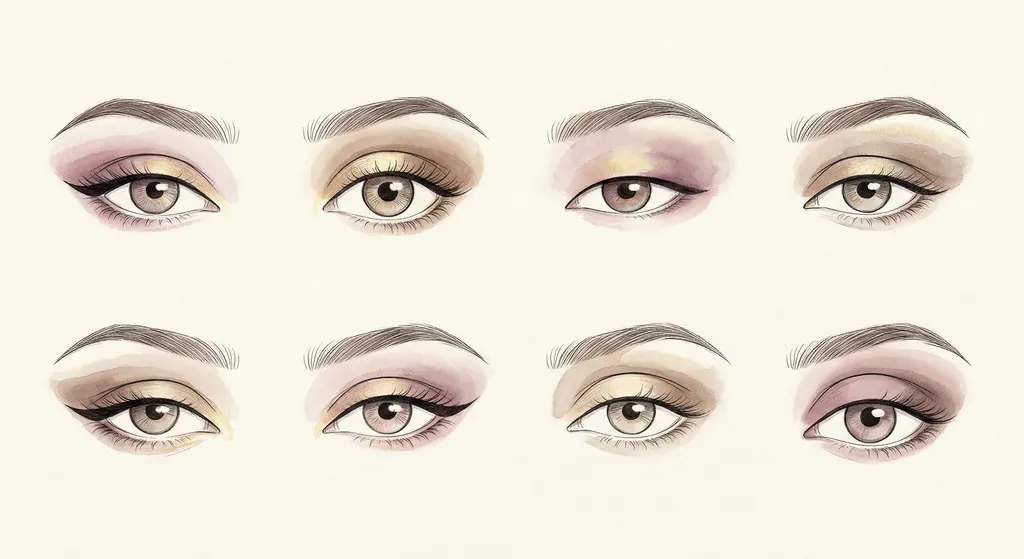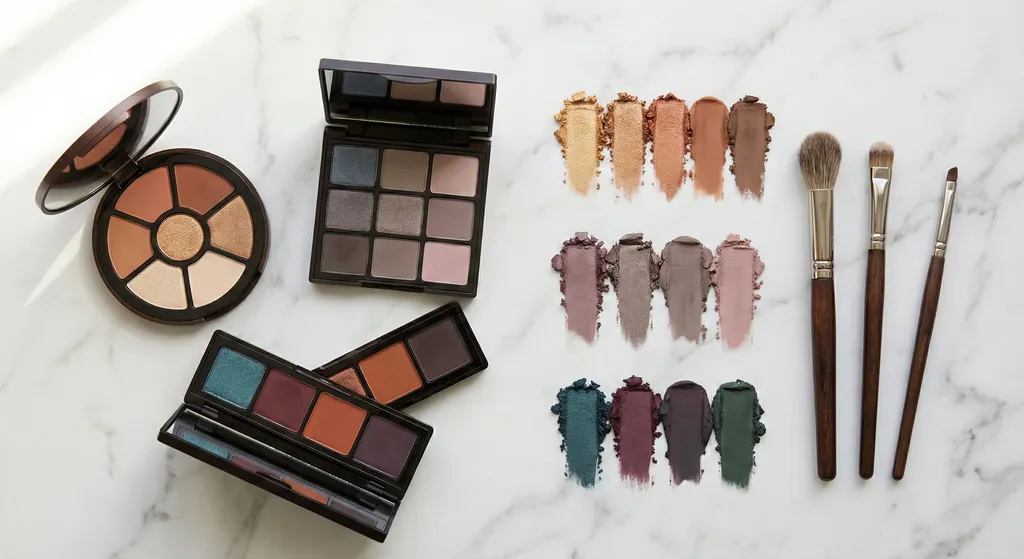
Where to apply eyeshadow comes down to seven distinct zones: the transition area, the lid, the crease, the outer V, the inner corner, the brow bone, and the lower lash line. Getting the placement right in each zone is what separates a look that lands from one that falls flat. Starting with the transition shade first is the single most important step, because it creates a blended base that prevents every layer after it from looking patchy or muddy.
Before You Start: Tools and Prep
Good eyeshadow placement starts before you ever touch a brush. If you have an eyeshadow primer, use it: a thin layer creates a tacky surface that grabs pigment, sharpens color payoff, and keeps creasing at bay for hours. Primer is a genuine game-changer. You can still build a clean look without one, so do not let its absence stop you, but expect shorter wear time and more movement as your natural oils push the shadow around through the day.
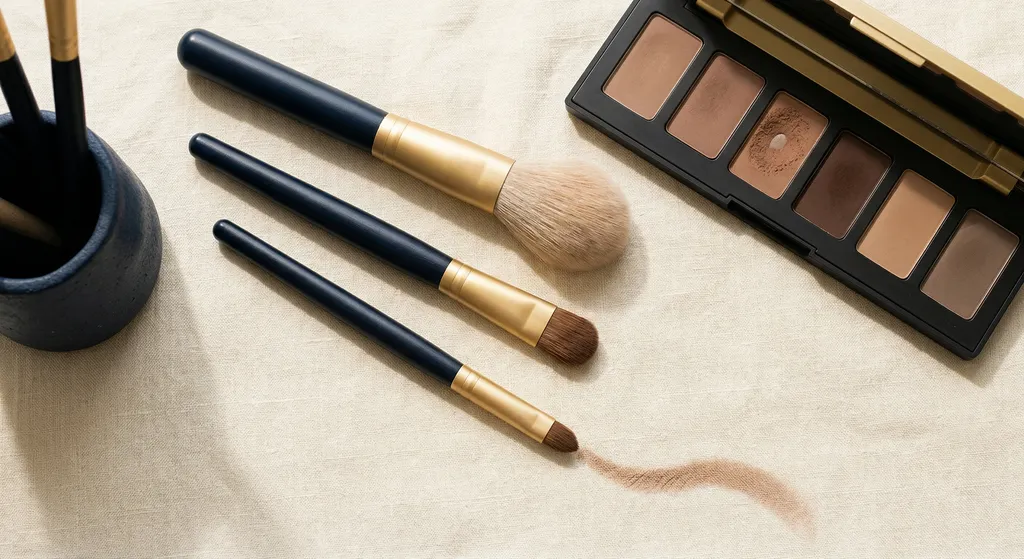
Brush selection matters just as much. Each zone calls for a different brush shape because the motion changes at every step. A fluffy blending brush for the transition zone, a flat shader brush for the lid, a tapered brush for the crease, a pencil brush for precise outer V work, and a small smudge brush for the lower lash line. The five listed above are the core set worth owning, plus a small fluffy or fan brush for the brow bone when you reach Step 6.
You do not need dozens of shades to create a complete look. The 3-shade formula (transition, lid, definition) is the foundation that every multi-shade look builds upon. The seven-zone approach in this guide expands that formula by giving each shade a precise home on the eye.
The right primer and brush for each zone are just as important as the shadows you choose.
The Eyeshadow Application Order That Actually Works
The order you apply eyeshadow matters more than most tutorials let on. Working from diffused to precise, light to dark, and large area to small detail gives you the most control at every stage. This is the sequence that professional makeup artists actually use.
Step 1: Transition Zone First
Brush: Fluffy blending brush (the largest eye brush in your kit).
Motion: Windshield-wiper strokes back and forth across the area above your crease, below your brow bone. Keep the brush moving in a continuous arc rather than stamping in one spot.
Shade: A matte shade slightly darker than your skin tone that matches your own undertone. This should read like a natural shadow when blended, not a visible color. Keep it true to your undertone rather than pushing warmer or cooler than your skin.
This is the most important step in the entire process. The transition shade creates a soft gradient that every other shade blends into. Without it, the edge between your lid color and your bare skin will always look abrupt, no matter how long you spend blending. Think of it as the base layer that makes everything after it easier.
Common mistake: Going too dark too soon. If your transition shade is too deep, you lose the gradient and the entire look ends up heavier than intended. Choose a shade that almost disappears when you blend it out. You can always build depth later with the crease shade.
Start with the transition shade to create a blended base that prevents muddy, patchy eyeshadow at every step that follows.
Step 2: Pack Color on the Lid
Brush: Flat shader brush (the wide, flat, densely packed one).
Motion: Press and pat the color onto the center of your mobile lid, then work outward. Do not swipe or drag. Pressing deposits more pigment and keeps shimmer particles intact.
Shade: A medium-toned shade in shimmer, satin, or metallic finish. This is the focal point of your look, the shade that catches light and draws attention.
Your mobile lid is the flat area between your lash line and your crease. For many eye shapes, it is the most visible surface when your eyes are open, which is why it carries the statement shade. Patting the color on (rather than blending it) preserves the intensity and keeps shimmer fallout off your cheeks.
Common mistake: Swiping shimmer shades with a brush. This moves the particles around instead of pressing them into place, resulting in patchy coverage and fallout. Use your fingertip or a flat brush and press firmly.
Pat your lid shade on with pressing motions to preserve shimmer intensity and prevent fallout.
Step 3: Define the Crease
Brush: Smaller tapered blending brush (more precise than the fluffy one you used for the transition).
Motion: Small, concentrated back-and-forth strokes focused right in the socket line. Keep the movement tight rather than sweeping across the entire eye.
Shade: A matte shade that is deeper than your transition shade. This adds the visible definition between the lid and the brow bone area.
The crease is the socket line of your eye. On most eye shapes it forms a natural fold or groove you can feel when you press gently along the socket, though monolid and hooded eyes carry that line differently. Your crease shade sits along this socket line and builds the depth that gives an eye look its dimension. The trick is keeping this shade concentrated. You already have the transition shade doing the blending work above, so the crease shade can stay focused in a tighter area.
Common mistake: Blending the crease shade too wide. If it spreads up into the transition zone and down onto the lid, you lose the distinct layers that create dimension. Keep it in the socket line.
Concentrate the crease shade in the socket line to create visible depth without losing the layers you have already built.
Step 4: Deepen the Outer V
Brush: Pencil brush or small firm brush (something precise enough to place color exactly where you want it).
Motion: Press the shade into the V-shaped area where your upper lash line meets your lower lash line at the outer corner. Then blend the color upward and inward toward the crease.
Shade: The darkest matte shade in your look. This is where you build maximum depth.
The outer V is the small triangular area at the outer corner of your eye, named for the V shape formed where the crease line meets the upper lash line. This zone is where you build drama. Even in a soft everyday look, a slightly deeper shade pressed into the outer V adds structure and keeps the whole thing from looking flat.
Common mistake: Not connecting the outer V to the crease line. If the dark shade sits isolated at the outer corner without blending into the crease, it looks like a disconnected spot of color. Always blend the outer V upward to meet your crease shade so there is a seamless gradient.
Press the darkest shade into the outer V and blend it up into the crease for a seamless gradient from light to dark.
Step 5: Brighten the Inner Corner
Brush: Small flat brush or your fingertip (a fingertip works especially well for pressing shimmer into this tiny area).
Motion: Dab or press the shade directly onto the inner corner of the eye, right at the tear duct area.
Shade: A light shimmer, metallic, or satin shade. Champagne, pale gold, and soft pink are popular choices.
The inner corner highlight is one of the smallest things you will do, but the difference it makes is surprisingly big. That tiny point of light opens up the eyes, makes you look more awake, and balances out the depth you built at the outer V. It takes about three seconds and improves every look you create.
Common mistake: Applying the highlight too far past the tear duct. If it spreads across a large portion of the inner lid, it loses its impact as a point of light and starts competing with your lid shade. Keep it tight and precise.
A small dab of shimmer at the inner corner opens up the eye and balances the depth at the outer V.
Step 6: Highlight the Brow Bone
Brush: Small fluffy brush or fan brush.
Motion: Light sweep directly under the arch of your brow, blending downward slightly to avoid a harsh line.
Shade: A matte or satin highlight shade that is close to your skin tone or just slightly lighter. Avoid heavy shimmer here.
A brow bone highlight gives the whole eye area a lifted, sculpted look. It works by creating contrast with the deeper shades in your crease and transition zone. This is a subtle step, and subtlety is the point. You want it to look like natural light catching the highest point of the eye area, not like a visible stripe of product.
Common mistake: Using a shade that is too shimmery. Heavy shimmer on the brow bone can emphasize skin texture and look unnatural, especially in daylight. A matte or soft satin finish gives you the lift effect without drawing attention to the brow bone itself.
A matte or satin highlight under the brow arch creates a subtle lift that frames the entire eye look.
Step 7: Finish the Lower Lash Line
Brush: Small smudge brush or pencil brush (something narrow enough to control placement along the lash line).
Motion: Short back-and-forth strokes along the lower lash line, starting from the outer corner and working inward. Stop about two-thirds of the way across unless you want a very defined look.
Shade: Mirror the shade you used in the crease or the outer V. This ties the upper and lower portions of the look together.
The lower lash line is the finishing touch that ties everything together. It connects the shadow work on top to the area below the eye, making the whole look feel intentional. Using the same shade family as your crease or outer V creates cohesion, though you can also try an accent color here for a subtle pop of interest without committing to a bold lid.
Common mistake: Applying shadow too thickly along the lower lash line. A heavy line under the eye can make your eyes appear smaller and the look heavier than intended. Use a light hand, tap off excess product before applying, and keep the line thin.
Mirror your crease or outer V shade along the lower lash line with a light hand to complete the look without closing in the eye.
Blending Direction Cheat Sheet
Knowing where each shade goes is half the battle. The other half is how you move the brush once it gets there. Blending direction is often the difference between a polished result and a muddy one. Here is a quick reference.
| Zone | Brush Motion | Direction | Common Error |
|---|---|---|---|
| Transition | Windshield-wiper | Back and forth above the crease | Going below the crease line |
| Lid | Pat/press | Flat onto the lid center | Swiping (causes patchiness) |
| Crease | Small back-and-forth | Concentrated in the socket line | Blending too wide |
| Outer V | Press then blend out | Press inward, blend toward crease | Leaving a hard edge at the V |
| Inner corner | Dab/press | Onto the inner tear duct area | Spreading too far across the lid |
| Brow bone | Light sweep | Horizontal under the brow arch | Using too much shimmer |
| Lower lash line | Short strokes | Along the lower lashes, outer to inner | Applying too thickly |
Use the specific brush motion listed for each zone to keep your layers distinct and your transitions smooth.
Get Step-by-Step Eye Makeup Tutorials Built for Your Features
BeautySpark analyzes your eye shape and color season from a selfie, then generates personalized eyeshadow tutorials tailored to your features. Every look includes zone-by-zone placement guidance.


How Eyeshadow Placement Changes by Eye Shape
The seven zones exist on every eye, but their proportions shift depending on your eye shape. The same placement technique can look completely different on two people because of how much lid space is visible, how deep the crease sits, and where the socket line falls. A few targeted adjustments make a real difference.
Hooded eyes have a fold of skin that partially covers the mobile lid when the eyes are open. The fix: blend your transition and crease shades higher than your natural socket line so they remain visible when you look straight ahead. Your lid shade gets less real estate, so pat it on firmly for maximum impact in a smaller area.
Deep-set eyes sit further back in the socket, which means the crease area naturally appears darker. Keep your crease and outer V shades lighter than you might for other eye shapes to avoid adding depth to an already recessed area. Bring shimmer shades forward onto the lid to reflect light and bring the eyes forward visually.
Monolid eyes do not have a defined crease fold, which gives you a larger canvas from lash line to brow. Your transition gradient starts at the lash line and blends upward. The distinction between lid, crease, and transition becomes more about gradual tonal shifts than hard zone boundaries.
Round eyes benefit from concentrating deeper shades at the outer corners to elongate the shape. Extend your outer V slightly beyond the natural corner of the eye and keep the inner half of the lid lighter to create a horizontal emphasis.
For detailed placement diagrams for all common eye shapes, our eye shape guide walks through each adjustment with visual references.
Your eye shape determines where each zone sits and how much space it occupies, so adjust placement to match your proportions.
How Your Color Season Affects Shade Selection
The placement technique is the same for everyone, but the specific shades that look best in each zone depend on your color season. Your season tells you which undertones harmonize with your natural coloring and which ones fight against it.
If you are a warm season (any Spring or Autumn), your transition shade should lean warm: think soft peach-browns, golden taupes, and warm terracotta tones. Your crease and outer V shades work best in warm browns, bronzes, and muted oranges. Cool grays and blue-toned mauves will look muddy against warm skin.
If you are a cool season (any Summer or Winter), your transition shade should lean cool: dusty roses, cool taupes, and mauve-grays. Your deeper shades work best in cool plums, charcoals, and slate tones. Warm coppers and golden bronzes will look orange and out of place.
How much depth you can push also depends on your season. Bright seasons (Bright Spring, Bright Winter) can carry vivid, saturated colors across all zones without looking overdone. Soft seasons (Soft Summer, Soft Autumn) look best with muted, blended tones where no single zone dominates. Deep seasons (Deep Winter, Deep Autumn) wear rich, dark shades beautifully in the outer V and crease.
For specific shade recommendations based on your eye color and season combination, see our guide on the best shades for your eye color.
Discover your color season and get personalized eye makeup tutorials with BeautySparkYour color season determines which undertones and depths work in each zone, so choose shades that match your natural coloring for a cohesive result.
Frequently Asked Questions
Get Personalized Eye Makeup Tutorials for Your Features
BeautySpark analyzes your color season and eye shape from a selfie, then generates step-by-step eyeshadow tutorials with zone-by-zone placement tailored to your features. Every tutorial is built for your unique eye shape and coloring.