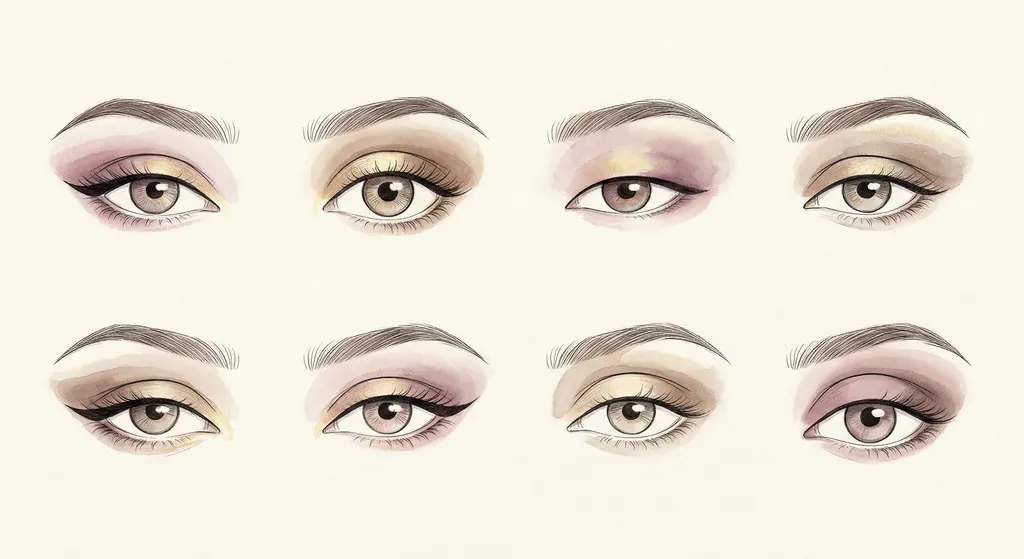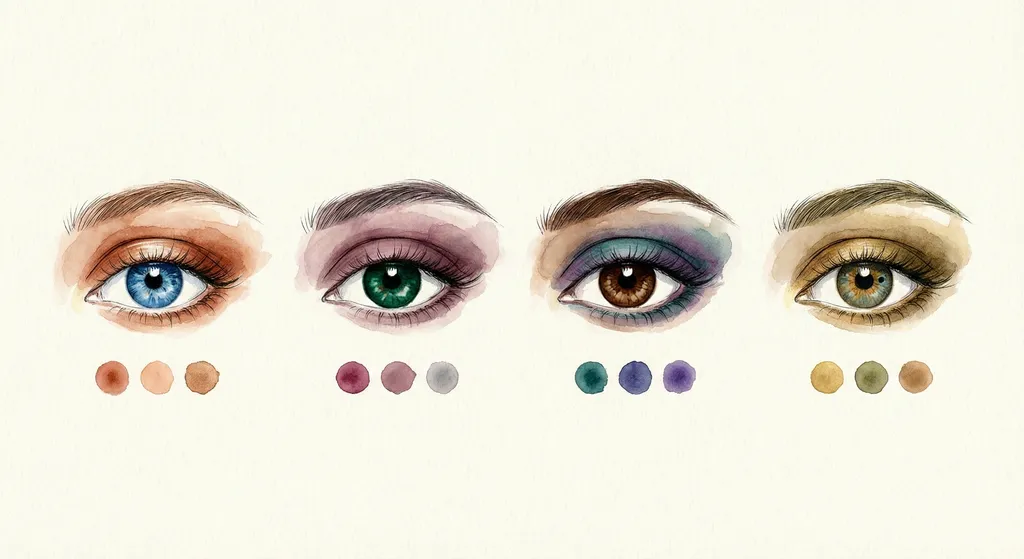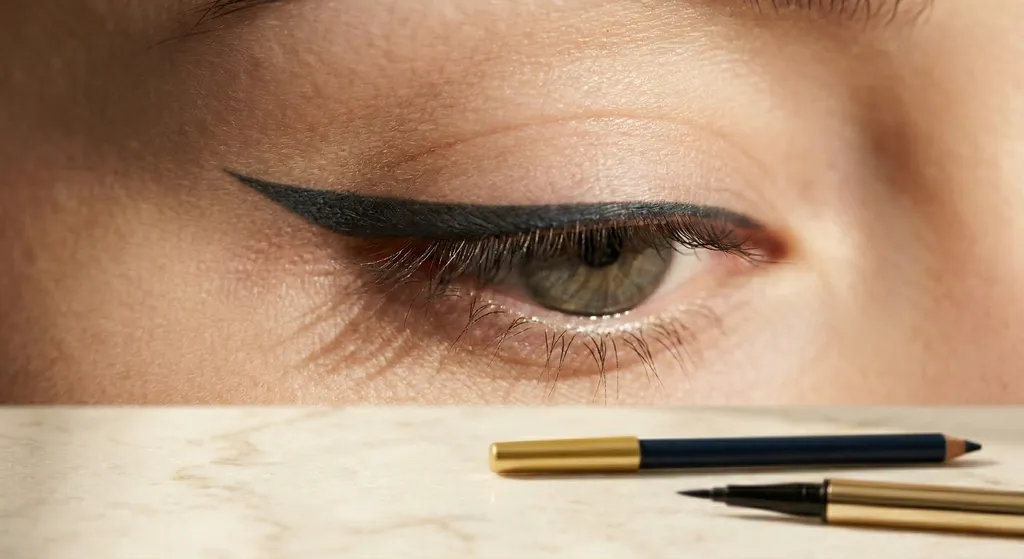
Where liner lands determines whether it shows, or vanishes the moment you open your eye. Eyeliner for hooded eyes is the most asked-about technique, and for good reason: the fold of skin covers liner applied to a closed lid. Every technique here is built around one principle: how much lid space is visible with the eye open, and how the crease interacts with the lash line. Work with those two factors and liner that actually stays visible becomes straightforward.
Get your personalized eye makeup tutorialHow to Identify Your Eye Shape
Before picking a technique, knowing your eye shape narrows it down fast. Read our full guide to identify your eye shape: it covers all seven shapes with photos and a simple self-test.
Correct shape identification is the first step to liner that works for you.
Eyeliner for Hooded Eyes
Why Standard Liner Disappears on Hooded Lids
Hooded eyes have a fold of skin that extends over the eyelid, covering part or all of the mobile lid when the eye is open. When you apply liner with your eyes closed, you draw on the visible lid, but as soon as you open your eyes, that fold drops down and covers the line. The result: liner that looks great in the mirror with eyes half-closed and vanishes when you look straight ahead.
The Open-Eye Placement Method (Step by Step)
The fix is applying liner with eyes already open, placing the line exactly where it will stay visible.
Step 1: Prime the lid with an eye primer or a thin layer of matte eyeshadow. This prevents transfer onto the hood.
Step 2: Open both eyes fully and keep them open throughout application. Avoid looking down at your work.
Step 3: Starting at the inner corner, draw a thin line as close to the lash line as possible, keeping eyes open.
Step 4: Gradually thicken the line toward the outer corner where more lid space is typically visible.
Step 5: Check with eyes open in a straight-ahead mirror, then adjust thickness until the line shows clearly.
Tightlining tip: Fill between the lashes with a waterproof pencil or gel liner. This adds depth and definition without using any lid space, and is particularly effective when visible lid space is minimal.
Winged Liner on Hooded Eyes: Where to Draw It
A wing on hooded eyes works, but placement is everything. With eyes open, locate where the hood's outer edge sits: the wing must angle upward above this point, not follow the natural downward sweep of the fold. Draw the flick toward the tail of your brow, at an upward angle of roughly 30–45°. Use a waterproof or gel formula to prevent transfer onto the hood throughout the day.
On hooded eyes, liner placement is decided with eyes open, never closed.
Best Eyeliner Formula for Hooded Eyes
Formula choice matters as much as technique on hooded lids. The hood rubs against the liner throughout the day, so soft pencils and cream formulas transfer onto the skin above the lash line, creating a smudged shadow instead of a clean line. Gel eyeliner (pot or retractable) grips the lid and resists transfer; waterproof liquid liner locks in place once set. Avoid felt-tip liquid liners unless you work very quickly, as the formula can lift during application if you need to go back and refine the line.
For hooded eyes, a waterproof gel formula is the most reliable choice for all-day wear.
Eyeliner for Monolid Eyes
Building Definition Without a Visible Crease
Monolid eyes have a flat lid with no visible crease. Liner placed directly on the lash line with a standard application tends to be covered entirely when the eye opens: the lid folds over it as the eye opens fully. Building definition requires placing liner higher than the lash line and extending it beyond the outer corner to create the elongation that shows when the eye is open.
Floating Liner Technique (Step by Step)
The floating liner technique treats the desired visible line as if it were the lash line, drawn above the actual lash line at the height where it will be visible with eyes open.
Step 1: Prime eyelids thoroughly. Gel liner grips better than pencil on monolids.
Step 2: Open eyes fully. With a light pencil or eyeshadow, lightly sketch where you want the liner to sit: above the lash line, at the height where it remains visible when the eye is open.
Step 3: Trace the sketch with a gel or liquid liner starting from the inner corner.
Step 4: Build thickness gradually with short strokes, thickening toward the outer corner for depth.
Step 5: Extend the line 3–5mm beyond the outer corner to create horizontal elongation.
On monolids, the liner floats above the lash line, placed where it will be seen, not where tradition says to draw it.
Eyeliner for Round Eyes
Elongating With a Tapered Wing
Round eyes have an almost circular shape with the widest point in the center of the lid. The goal with liner is to draw the eye outward horizontally, creating the appearance of length, not width. Keep the liner thin along the inner two-thirds of the lash line, then begin thickening at the outer third. The wing angle matters: aim for a tight 20–30° from the lash line, extending toward the outer corner. A high, steep flick opens the eye vertically (emphasizing the roundness) instead of lengthening it.
Lower Lash Line: When and Where to Line
Lining the full lower lash line on round eyes closes the eye and reinforces the circular shape. Confine lower liner to the outer third only, as this extends the eye outward without reducing its perceived height.
On round eyes, a low-angled wing extending outward creates length; avoid lining the full lower lash line.
Which of the 8 eye shapes are you? One selfie tells you
BeautySpark reads your eye shape and shows the placement that flatters it.


Eyeliner for Almond Eyes
Almond eyes handle almost any liner technique. The slightly tapered outer corner gives a natural flick anchor, which is why the classic cat eye feels at home here.
Classic Cat Eye: Step by Step
Step 1: Start at the inner corner with a very thin line, hugging the lash line closely.
Step 2: Maintain a thin line for the inner two-thirds of the lash line.
Step 3: At the outer third, begin thickening gradually and angle the line slightly upward.
Step 4: Draw the wing by extending from the outer corner at a 30–45° angle; wing length of 3–8mm depending on the level of drama wanted.
Step 5: Connect the tip of the wing back to the upper lash line to close the triangle.
Step 6: Fill in the triangle cleanly for a sharp, solid flick.
Lower Lash Line Enhancement
A thin, smudged line on the outer half of the lower lash line adds depth to almond eyes without closing or altering the shape. Avoid extending lower liner to the inner corner, as it narrows the eye.
Almond eyes support nearly any liner technique; the classic cat eye requires only small adjustments to thickness and wing angle.
Eyeliner for Downturned Eyes
Lifting With an Upswept Wing
Downturned eyes have outer corners that sit lower than the inner corners. Standard liner that follows the outer corner downward emphasizes the droop. The goal is to redirect the eye upward before reaching the outer corner.
The key rule: stop following the natural lower curve of the outer corner and redirect the line upward at the midpoint of the upper lid. Begin the upswept angle from approximately the middle of the upper lash line, angling at roughly 45° toward the brow. Never follow the downward outer corner. Stop the upper liner just before it and redirect immediately upward.
Avoid lining the lower outer corner. The lower outer lash line dips downward on downturned eyes, and lining it draws attention to the downward angle. Confine lower liner to the inner two-thirds only if used at all.
On downturned eyes, redirect the liner upward at mid-lid. Following the outer corner down is the one thing to avoid.
Eyeliner for Upturned Eyes
Balancing With a Subtle Flick
Upturned eyes have outer corners that sit higher than the inner corners, giving a natural upward tilt. That tilt works in your favor: the upper lash line already angles upward, so the wing only needs to follow that line.
Keep the flick short. An exaggerated wing over-amplifies the tilt and throws off the balance. Follow the lower lash line's natural upward curve for the angle.
To soften the upward tilt slightly, smudge a small amount of liner or dark eyeshadow at the outer lower corner. This creates visual balance without fighting the shape.
On upturned eyes, the natural tilt does most of the work. A short, restrained flick along the lower lash line's curve is enough.
Eyeliner for Deep-Set Eyes
Opening Up the Eye
Deep-set eyes sit further back in the socket, with a prominent brow bone that creates shadow over the lid. Heavy liner on the upper lid tends to disappear into the socket shadow, and lining the full eye with dark product can make deep-set eyes appear even more recessed.
Keep liner thin on the inner half of the upper lid and thicken only slightly on the outer half. Leave the inner corner bare, or use a light, shimmery liner there to open the eye visually. On the waterline, use a nude or white pencil instead of black; a dark waterline closes deep-set eyes further and reduces their visible size.
For eyeshadow pairings that work with liner on deep-set eyes, see our guide on eyeshadow to pair with your liner.
On deep-set eyes, thin liner on the inner half, a light inner corner, and a nude waterline keep the eye open and visible.
Quick-Reference Technique Table
To choose a liner shade by color season as well as shape, pair the technique below with your season's recommended liner shades.
| Eye Shape | Technique | Liner Type | Key Tip |
|---|---|---|---|
| Hooded | Open-eye placement; tightlining | Gel or waterproof pencil | Apply with eyes open; wing above the crease |
| Monolid | Floating liner above lash line | Gel or liquid | Draw line with eyes open; extend past outer corner |
| Round | Tapered wing, outer-third lower liner | Liquid for precision | Low wing angle (20–30°); skip inner lower liner |
| Almond | Classic cat eye | Liquid or gel | Thin inner two-thirds, thick outer third, 30–45° wing |
| Downturned | Upswept wing from midpoint | Liquid for control | Redirect upward at mid-lid; avoid lower outer corner |
| Upturned | Short, subtle flick along lash line | Liquid or gel | Follow natural upward curve; smudge lower outer corner |
| Deep-set | Thin upper liner; light inner corner | Pencil or fine-tip gel | Nude waterline; leave inner corner open |
Frequently Asked Questions
Which of the 8 eye shapes are you? One selfie tells you
BeautySpark reads your eye shape and shows the placement that flatters it.